In this explainer, Jack Wallen will not only explain Ollama, he’ll walk you through getting it running on your Linux box.
AI is unavoidable at this point because it’s everywhere, and so many organizations have opted to add it to their workflows.
For many, that means using a third-party, cloud-hosted service that could potentially use your data or information for their own needs–such as training LLMs or even selling your data.
A while ago, I realized I would need to make use of AI for research purposes, but didn’t want to risk my queries or information being used by third parties. I figured since I use Linux there had to be a way to use AI locally.
It didn’t take me long to discover there is a way, and it’s called Ollama.
The name stands for Omni-Layer Learning Language Acquisition Model. Ollama is a customizable open-source AI tool that can be installed and used locally on Linux, macOS, and Windows. You can use it directly from the command line or through a handy GUI called Msty.

For this article I’m going to show you how to install and use Ollama on Linux, so you can harness the power of AI without having to share your information with any third parties.
What You’ll Need
To use Ollama on Linux, you’ll need a running instance of Linux (the distribution doesn’t matter) and preferably on a machine with a dedicated GPU. Otherwise, using Ollama can put a serious strain on your system resources. You’ll also need a user with sudo privileges.
If you’re a stickler for system requirements, here they are for Linux:
- OS: Ubuntu 20.04 or later, Fedora 33 or later, or any other modern Linux distribution
- CPU: A modern CPU with at least 4 cores
- RAM: A minimum of 8GB RAM (although 16 GB is recommended)
- Storage: At least 10 GB of free disk space
- GPU: A compatible NVIDIA GPU with CUDA support
That’s it. Let’s get our Ollama on.
Installing Ollama
You’ll be surprised at how easy this is. All you have to do is open a terminal window on your Linux machine and issue the command:

curl -fsSL https://ollama.com/install.sh | sh
First, the installation will download the Linux bundle (which will take roughly two minutes). Once the bundle has downloaded, it will install the necessary files, create a systemd file, and start the Ollama service (ollama.service).
You can then verify the installation with the command:
ollama --version
You should see something like:

ollama version is 0.5.4
To make sure that it runs at boot, start and enable the Ollama service with the command:
sudo systemctl enable --now ollama
Downloading Your First Model
At this point, Ollama isn’t good for much because you need to download a model first. You can view an entire list of the available models here.
Let’s say you want to use llama4 as your model. To pull that model, issue the command:

ollama pull llama4
Depending on the size of the model you chose, this download can take some time. For example, the llama4 model is 64GB, while the llama3 model is only 4.7GB. You can pull as many models as you want or need, so long as you have the storage space for them.
After the model has been pulled and verified, you then need to run the model with:
ollama run MODEL
Where MODEL is the name of the model you pulled.

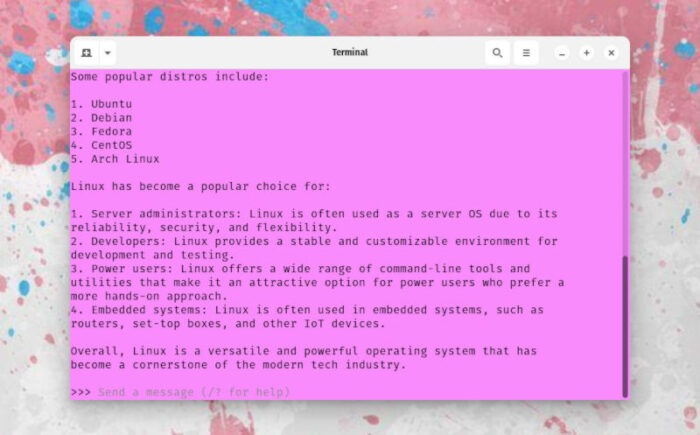
You will then be presented with the Ollama prompt (>>>), where you can start querying your locally installed AI.
Ask your questions and receive your answers, Ollama is ready for you.
Enjoy that newfound (and local) AI experience.

Jack Wallen is an award-winning writer for TechRepublic, ZDNET, The New Stack, and Linux New Media. He’s covered a variety of topics for over twenty years and is an avid promoter of open source. Jack is also a novelist with over 50 published works of fiction. For more news about Jack Wallen, visit his website.


You can also run a GUI front-end (there are several, actually) to provide a convenient chatbox interface.
I use MSTY (https://msty.app/) which has an embedded Ollama server in the install package. It’s NOT open-source, but it’s very good, with the ability to chat with multiple AIs at once, split conversations, and access online AIs as well.
Besidea MSTY, there are other options such as AnythingLLM, LMStudio, Jan, Open WebUI and others.