Follow this walkthrough to set up Censor from Flathub and use it to remove sensitive information from your PDFs.
The FOSS Force Linux App of the Week — Censor
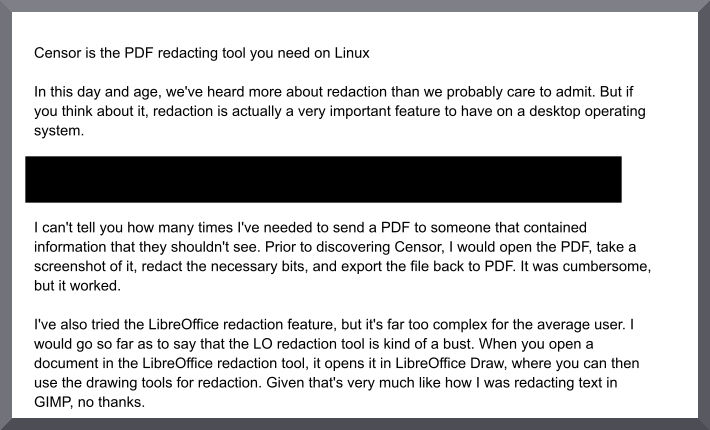
Thank goodness for Censor!
I can’t tell you how many times I’ve needed to send a PDF to someone that contained information they shouldn’t see. Prior to discovering Censor, I would open the PDF, take a screenshot of it, redact the necessary bits, and export the file back to PDF. It was cumbersome, but it worked.
I’ve also tried the LibreOffice redaction feature, but it’s far too complex for the average user. I would go so far as to say that its redaction tool is kind of a bust. When you open a document in the LibreOffice redaction tool, it opens it in LibreOffice Draw, where you can then use the drawing tools for redaction. Given that’s very much like how I was redacting text in GIMP, no thanks.
I needed a much more efficient method of redacting text from PDFs. I found it in Censor, an open source Flatpak app under active development that’s released under the GNU Affero General Public License v3.0.
Defining Censor
According to the app’s developer, “Censor is a PDF document redaction tool. It permanently removes text and images in redacted areas and can draw rectangles over them. It uses the MuPDF library with its Python bindings from the PyMuPDF module.”

Before you grow concerned about that jargon, Censor is a GUI app that is so easy to use that anyone could get up to speed with little to no help.
If you’re thinking, “I don’t need an app to redact documents because I haven’t needed to redact a document” — you might want to add to that the word, “Yet.” I thought the same thing until it was time to redact something. After that, it seemed I was regularly redacting documents.
Installing Censor
According to what I’ve seen on the official site, Censor is only installable via Flathub. If you have a Linux distribution that doesn’t include Flatpak by default, then you’ll need to install Flatpak, which is easy and covered in the article “How to Make Your Linux System Flatpak Ready.”
Once you have Flatpak installed, you can then install Censor.
There are two ways to install Censor. The easiest method requires that your desktop app store has Flatpak support built in. If that’s the case, you can download the Censor .flatpakref from Flathub. When the download starts, you might be asked if you want to open it with the default package manager on your system (on Pop!_OS, downloading the link prompts me if I want to open the file with Bazaar). If so, do that and then click Install to finish the process.

If you don’t have a package manager with built-in support for Flatpack, you can install Censor with the command:
flatpak install flathub page.codeberg.censor.Censor
When the installation completes, you’re ready to use the app.
Using Censor
If you don’t find the Censor launcher in your desktop menu, log out and log back in and it should appear. Click the launcher to open the app.
The Censor app is very basic-looking, which is fine because it only has one trick up its sleeve: redacting PDFs.

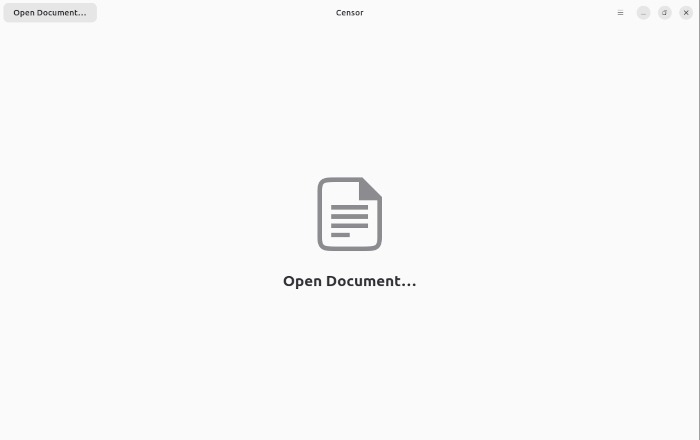
The Censor window is bare bones. From the app’s main (and only) window, click Open Document.
Using your distribution’s default file picker, navigate to the PDF you want to redact and either double-click it or click Open.
You should now see the PDF open on your desktop, but it’ll seem like there aren’t any available tools to use.
Fret not.
Find a section of the PDF you want to redact and, using your cursor, select the section. Once you’ve selected the section, you’ll see a transparent black redaction box over the text. Although you can view the text through the box, don’t worry; once you save the redacted document, that semi-transparent redaction turns solid.

One thing to keep in mind is that you cannot resize or undo a box. Once it’s there, the only way to get rid of it is to close the document without saving, which means you’ll have to start over.
After you’ve redacted everything necessary in the document, click Save As to save the PDF with the redactions intact. After saving the redacted PDF, you’ll see that those semi-transparent sections are now solid black and cannot be viewed.
And that’s all there is to redacting PDFs in Linux. I’ve used this tool several times and it has never failed me.
Things I like about Censor… |
Things I don’t like about Censor… |
|---|---|
|
|

Jack Wallen is an award-winning writer for TechRepublic, ZDNET, The New Stack, and Linux New Media. He’s covered a variety of topics for over twenty years and is an avid promoter of open source. Jack is also a novelist with over 50 published works of fiction. For more news about Jack Wallen, visit his website.


You can directly open most pdf files with Gimp, importing it as an image, crop out the parts implicating you in whatever you’ve been up to [looks suspiciously at article author], fill the cropped areas with the paint bucket tool, and then export it as an image.
Open the pdf with Gimp, and import into Gimp as images, not layers, decide what resolution you want first. You’ll get an image of each page of the pdf (and you can select only a range of pages, or only specific pages, or the whole document), which you can manually crop and fill, then export to png or whatever image format you want – don’t use/send an xcf file – jpg and png are safer choices.
The benefit to this is that you probably won’t accidentally send something that can be easily un-redacted, and extracting the information that is still there is more challenging than simply cutting and pasting text – which may or may not be desirable.
As an alternative, consider CoverUP (https://github.com/digidigital/CoverUP). It’s a bit less polished than Censor, but addresses the “undo” issue you’ve mentioned as well as some other nice features.
Regarding your statement, “One thing to keep in mind is that you cannot resize or undo a box. Once it’s there, the only way to get rid of it is to close the document without saving, which means you’ll have to start over.”
In Censor, if you right click a proposed redaction box, a pop-up menu appears with one option: “Delete Redaction.” Clicking that option deletes the proposed redaction box, restoring the original text or image that it covered.
OnlyOffice also has a redact functionality for pdf files now.